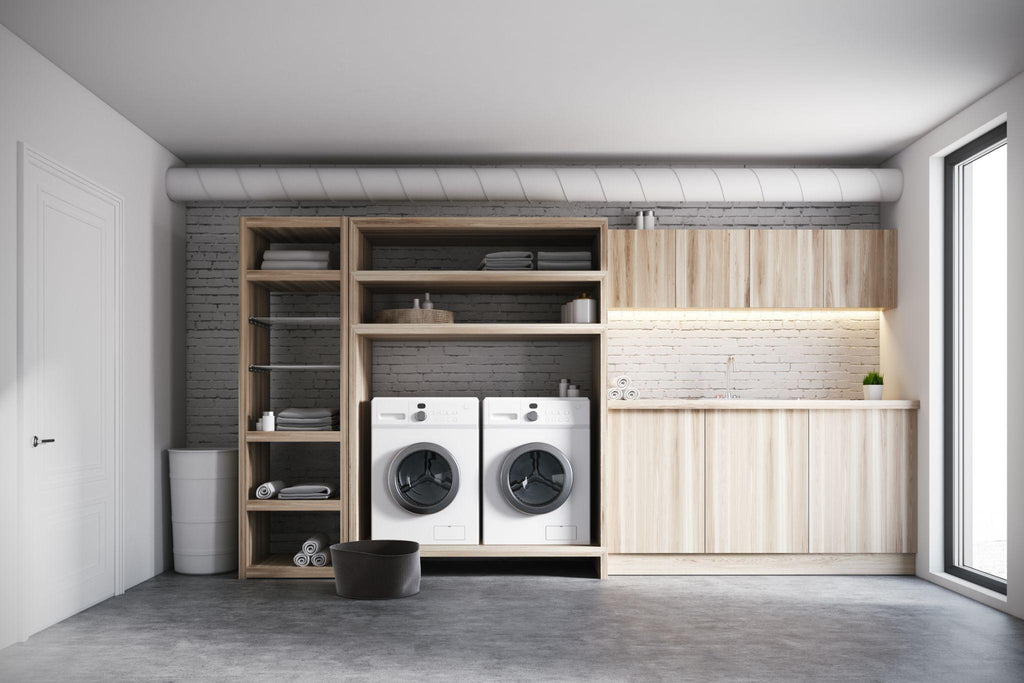
Do you dread doing laundry because of your hard and difficult-to-clean flooring? Well, we have some excellent news for you! You can install comfortable and durable vinyl laundry room flooring in a short amount of time without having to take the time to pry up your existing flooring.
This project is simple enough for a beginner, but it will still give you professional results that will transform your washing machine and dryer closet into a beautifully renovated laundry area. So whether you’re remodeling your entire laundry room, mud room, or utility room, or want to update the flooring, follow our guide to installing your new Cling Tiles and get started today!
1. CONFIRM YOUR SUBFLOOR IS SUITABLE
Before you install your brand-new Cling Tiles, the first thing you need to do is make sure that your subfloor is suitable. These versatile tiles are recommended for installation over smooth, non-porous surfaces such as:
- Concrete (all grades) with sealer
- Double-layer suspended wood
- Ceramic tile (for grout lines wider than 1/8”, fill in with embossing leveler or floor patch).
- Terrazzo
- Steel
- Aluminum
- Single layer non-cushion sheet vinyl/LVT/VCT
- Fully bonded and intact hard surface flooring
It’s important to note that Cling Tiles aren’t suitable for applying over rough, uneven, dusty, unclean, or porous surfaces. Don’t apply Cling Tiles directly onto the earth. Concrete slab, softwood flooring, resilient basement flooring, and sleeper floor assemblies are not suitable subfloor surfaces for Cling Tiles.
The room will also need to be suitable to install your new Cling Tiles successfully. You should verify that your laundry room consistently has a temperature between 65 and 85°F and a relative humidity between 35 and 65%. You should also confirm that the floor surface temperature always stays above 65°F.
Before applying your new Cling flooring, you will also want to do a simple test to make sure that the moisture of the flooring is suitable. Ensuring moisture is within the proper levels will prevent the growth of mold and mildew.
- Do the mat moisture test if you’re applying your new Cling Tiles to concrete. Take a plastic sheet and secure the edges to the floor with duct tape, ensuring no gaps. Leave the plastic sheet for at least 24 hours. Remove the plastic sheet after at least one full day and analyze the underlying moisture. It’s acceptable if dark spots and dampness have formed, but your concrete floor is unacceptably moist if droplets have formed on the plastic sheet.
- Using a pin-type moisture meter to measure the subfloor moisture level, apply your new Cling Tiles to a hardwood floor. The space between the subfloor wood and the underlying panel should be between 3 and 14%.
Lastly, you should thoroughly inspect your new Cling Tiles before installing them. If you notice any defects, refrain from installing the new flooring and contact Cling Tiles for assistance.
2. CLEAN AND PREPARE THE SUBFLOOR
Once you’re confident that your subfloor and laundry room climate is perfect for your brand-new Cling Tiles flooring, you must clean and prepare your subfloor. No worries if your subfloor doesn’t make the cut — there are plenty of ways to treat and prepare unsuitable subflooring to apply Cling Tiles successfully.
Here are some essential things to remember as you clean and prepare your subfloor surface.
- Your subfloor should be completely level, with an allowance of 3/16 inches per 10 feet. Use sanding and filler to create an ideal level and smooth subfloor surface. You may need to remove and fill damaged areas of the subfloor.
- Porous subfloors such as concrete should be primed with one or more acrylic or urethane-based primer-sealer coats. Allow the primer-sealer to dry before continuing (approximately an hour).
- Your subfloor should be thoroughly cleaned. Before installation, the surface should be free of dust, wax, marker, paint, grease, rust, dirt, and other contaminants.
- If your subfloor is radiantly heated, turn it off at least 48 hours before installation. Keep the radiant heating turned off during the entire installation process.
You should also make sure that your materials are adequately prepared for installation. Here are some of the most important things to remember.
- Allow your Cling Tiles to sit in the room for at least 24 hours before application to ensure they are at the same temperature as the subfloor upon installation.
- Never use adhesive removers as you prepare your subfloor. These chemicals will leach into your subfloor and cause the new Cling Tiles to fail.
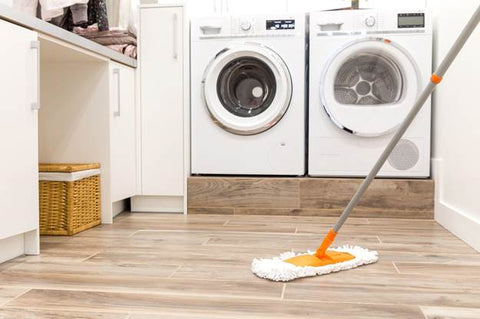
And, of course, you should ensure that your laundry room floor is entirely free of dust, lint, and debris. Make sure to thoroughly sweep and mop the floor, allowing the surface time to dry. When installing your tiles, there should be no water or moisture on the floor.
3. MEASURE THE AREA OF YOUR LAUNDRY ROOM
Next, you will need to measure the area of your laundry room. This will allow you to accurately calculate and order the correct amount of Cling Tiles flooring.
As you measure the dimensions of the laundry room, take note of fixtures or obstructions like radiators that may affect where and how you lay out your flooring.
4. BOND TEST THE SUBFLOOR
After you’ve prepared your subfloor for installation and calculated the room’s dimensions, the next most important thing to do is bond test the subfloor. Testing the subfloor will save you significant time and energy if the surface needs additional preparation.
To start, take one piece of your new Cling Tiles flooring and peel the release liner from underneath the tile. Next, place the Cling Tiles on the ground and step on the piece to apply it firmly.
If the tile segment stays firmly attached to the subfloor for more than 20 seconds, your subfloor is ready for your new flooring installation. If it detaches, reassess the suitability of your subfloor as outlined above, and consider contacting a flooring professional.
5. PLAN YOUR CLING TILES LAYOUT
Consider how you want to apply your new Cling Tiles. Depending on how you choose to apply the tile, it can take a uniform or varied appearance.
Cling Tiles vinyl plank flooring can easily be snapped into shorter segments according to your preferences. Consider how you orient the planks and what size planks you wish to apply.
This laundry room flooring option can be installed in a variety of fashions. Orient the tiles in the same direction to create a consistent appearance or alternate their orientation to create a varied appearance.
6. SQUARE THE ROOM
To apply your new laundry room floor tile evenly, you’ll need to square the room before you start the installation process.
To start, you should measure the width of one wall and mark the center point on the floor. Turn to the opposite wall and repeat the process, marking the center point on the floor. Then, create a line connecting the two points to mark the middle of the room.
Repeat this process with the other two walls. Measure the width of the wall, mark the center point on the floor for both opposite walls, and then draw a middle line to connect the two points. You should now have an exact middle point where the lines intersect on your floor.
7. PRE-BALANCE THE FLOORING
Next, you’ll need to ensure that the floor’s dimensions are correctly balanced. Place one tile in the exact center of the floor, using the point you drew during step 6 as a reference. Place the tiles side by side until they reach the walls. Verify that the resulting border is even on both sides.
8. PREPARE YOUR CLING TILES
Now that you know how your Cling Tiles will be laid out, it’s time to prepare for installation. Verify that the environment, subfloor, and Cling Tiles are all within a 3°F temperature range. Cut or snap your new tiles into the correct sizes if needed.
9. INSTALL YOUR NEW FLOORING
Finally, it’s time to install your new Cling Tiles flooring. Follow the guidelines of the layout you planned previously. As a rule of thumb, you should start by applying the first tile to the center of the floor. Apply neighboring tiles in the pattern of your choice, ensuring that each tile is carefully aligned edge to edge.
Once you’ve reached the margins of the laundry room, measure and cut perimeter tiles to reach the walls with your new Cling Tiles. Use a utility knife and straightedge to cut the tile for accurate results. Once all tiles are applied, finish the installation by sealing with a 75 lb linoleum roller.
10. USE THE RIGHT MAINTENANCE TECHNIQUES
You’ll need to follow a few simple rules to keep your new laundry room flooring in the best condition. Here are some things to remember as you maintain your renovated laundry room.
- Keep the temperature and humidity of the laundry room at consistent levels. Don’t let the floor surface temperature dip below 60°F.
- Clean up spills and messes as soon as possible to minimiz the chance of staining or warping.
- If you have a radiant heated subfloor, gradually acclimate the room by raising the temperature of the subfloor by 2°F each day until you reach the intended temperature. Don’t exceed 85°F.
- Minimize the heat exposure your new Cling Tiles flooring receives from your laundry appliances to prevent malfunction.
READY FOR A NEW LAUNDRY ROOM FLOOR?
Browse Cling Tiles website today for the best laundry room flooring options. Our micro suction adhesive tile system is designed to save time and money as it’s easy to install without needing any tools. The tiles install quickly and can be placed directly over existing subfloors, such as concrete, laminate flooring, and vinyl flooring.!
Whether you’re looking for the look of solid hardwood flooring, tile flooring, or concrete flooring, installing Cling Tiles is the best flooring option for your laundry flooring needs. It has little required maintenance and produces a professional look that will last for years.